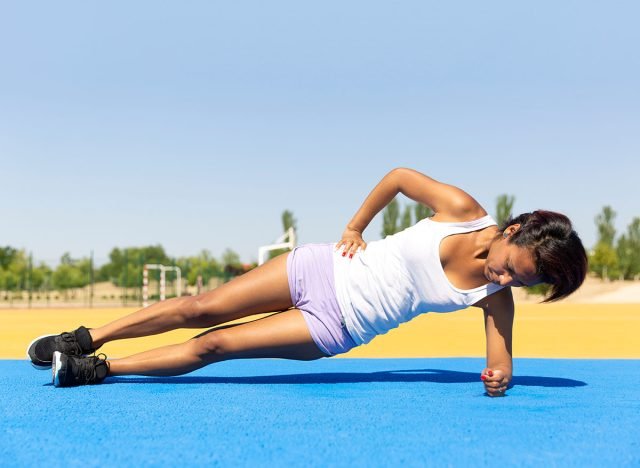
Many women over 60 ask me about the inward dip at the side of the hip and tell me they’d love a smoother, rounder shape there. It’s a common worry, and it’s understandable.
I’ve been a personal trainer for almost 40 years, and I co-founded TRAINFITNESS, the UK’s best provider of personal training courses, back in 1998. In that time I’ve worked with many women in this age group who feel the same way.
You can build and firm the muscle around the hip to improve the shape, though the dip itself is mostly due to bone structure. Here are the four home exercises I use with my own clients to strengthen and firm that area, no equipment needed.
Why Hip Dips Happen

The most common problem I see is worry. Women over 60 look at the inward dip at the side of the hip and think it means they’ve lost shape or let themselves go. It doesn’t. The hip dip is mostly due to bone structure: the width of the pelvis and the distance from the hip socket to the top of the thigh bone. That’s normal anatomy, not a fitness failure.
There’s also genuine muscle weakness to address. The gluteus medius and minimus, the muscles on the side of the hip, sit right where the dip appears. They matter for balance and for a steady stride, and many women over 60 haven’t trained them directly. Building them fills and firms the area a little, and it makes the hip stronger and more stable. That’s a real win, whatever the mirror shows.
RELATED: The 12-Minute Bodyweight Routine That Builds More Strength Than Hour-Long Gym Sessions After 60
Why These Beat Squats
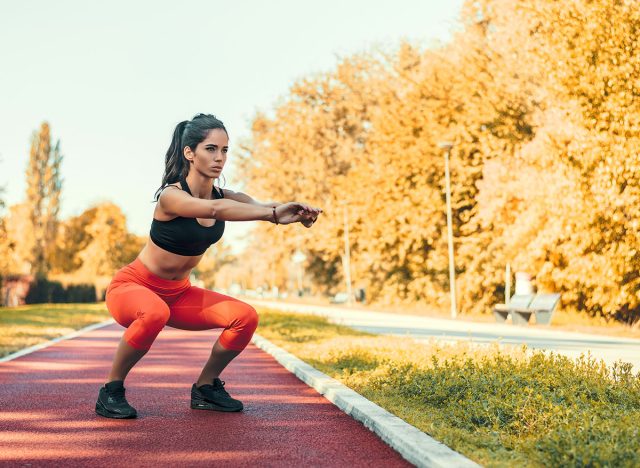
You can’t change the bone structure that sets the dip, and no exercise can spot-reduce fat from one place. What home exercises do well is build the side-glute muscles, the gluteus medius and minimus, that sit exactly where the dip is. As those muscles develop, they fill and firm the area, so the dip looks softer even though the underlying shape stays.
Squats mainly build the big glute at the back of the hip and the thighs. They work the side glutes far less directly. The exercises here isolate the side muscles by moving the leg out to the side or rotating it from a stable pelvis. That direct focus is what makes them the better choice for the hip-dip area. Squats are still a good exercise overall, so don’t drop them from your routine, but they won’t do as much for a hip dip.
These four exercises all target the side glutes, and they’re easy to do without any equipment. The first two are done lying on the floor, the last two standing behind a chair or a counter for support.
Side-Lying Leg Raise
This is the most direct way to work the gluteus medius, the muscle on the side of the hip right where the dip sits. Building it fills and firms the area.
How to Do It:
- Lie on one side with your legs straight and stacked, head resting on your lower arm.
- Keep your top leg straight and your toes facing forward.
- Lift your top leg up to about hip height.
- Lower it slowly.
- Do 12 to 15 lifts, then swap sides.
Avoid These Mistakes:
- Don’t roll your hips back or let your toes point up toward the ceiling. It shifts the work off the side glute, so keep your hips stacked and your toes pointing forward.
Sets and Reps: 12 to 15 reps per side.
RELATED: 4 Stair Exercises That Restore Knee Strength Faster Than Squats After 60
Clamshell
It targets the deeper side-glute muscles from a different angle, and it’s gentle on the joints, so it suits anyone easing in.
How to Do It:
- Lie on one side with your knees bent and stacked, feet together and drawn slightly back.
- Keep your feet touching and your hips still.
- Lift your top knee up like a clam opening.
- Lower it under control.
- Do 12 to 15, then swap sides.
Avoid These Mistakes:
- Don’t rock your whole hip backward to open your knee higher. Keep your top hip stacked over the bottom one and let the movement come from the glute.
Sets and Reps: 12 to 15 reps per side.
Standing Hip Abduction
It works the same side-glute muscles standing up, which also trains balance and mirrors how the hip works when you walk.
How to Do It:
- Stand tall behind a chair with a hand resting on it.
- Keep your leg straight and your toes forward.
- Lift one leg out to the side as far as is comfortable.
- Lower slowly.
- Do 12 to 15, then swap legs.
Avoid These Mistakes:
- Don’t lean your upper body over to swing your leg higher. Stay tall and only lift as far as you can without tipping.
Sets and Reps: 12 to 15 reps per side.
RELATED: 4 Wall Exercises That Trim Apron Belly Faster Than Crunches After 60
Standing Glute Kickback
This builds the main glute at the back, which adds overall roundness and fullness to the hip, so the whole area looks stronger and more shapely.
How to Do It:
- Stand tall behind a chair, hands resting on it.
- Keep your leg fairly straight.
- Squeeze your glutes and sweep one leg back behind you, only as far as you can without arching your lower back.
- Lower under control.
- Do 12 to 15, then swap legs.
Avoid These Mistakes:
- Don’t arch your lower back to push your leg higher. The range is small, and you should feel the work in your glutes, not your lower back.
Sets and Reps: 12 to 15 reps per side.
How Often to Train

Three or four times a week works well, with at least a day between sessions so the muscle recovers and grows. A little soreness in the side of the hip is normal when you start, but it should ease within a couple of sessions.
Start with two sets of each exercise, 12 to 15 reps per set, and build to three sets once that feels easy. Keep the movements slow and controlled; the lowering part is where much of the muscle work happens. If you’re short on time, you can do the lying exercises one day and the standing ones the next.
Add walking or general activity on the other days. Overall movement affects the fat layer that sits over the muscle, and no single exercise can spot-reduce that. More daily activity, combined with these targeted moves, gives the best result for the whole hip.
RELATED: 3 Simple Exercises That Rebuild Bone Strength Better Than Calcium Supplements After 60
What to Expect

In the first few weeks you’ll likely feel your hips stronger and more stable. Stairs, hills, and long walks will feel easier, which is a result in itself even before you notice a shape change. You may also feel a little more firmness around the side of the hip as the muscle wakes up.
Visible change in shape usually comes over 8 to 12 weeks of consistent work. As the side glute develops, the area can look rounder and firmer, and the dip can look softer. The dip won’t disappear, though, because it’s set by your bone structure. That’s true for every woman, of any age.
What you’re aiming for is the best version of your own hip shape, not someone else’s. Stronger, firmer, more stable hips will serve you well in every daily activity, and they’ll give you a shape you can feel good about.
The post 4 Home Exercises That Sculpt Hip Dips Better Than Squats After 60 appeared first on Eat This Not That.


